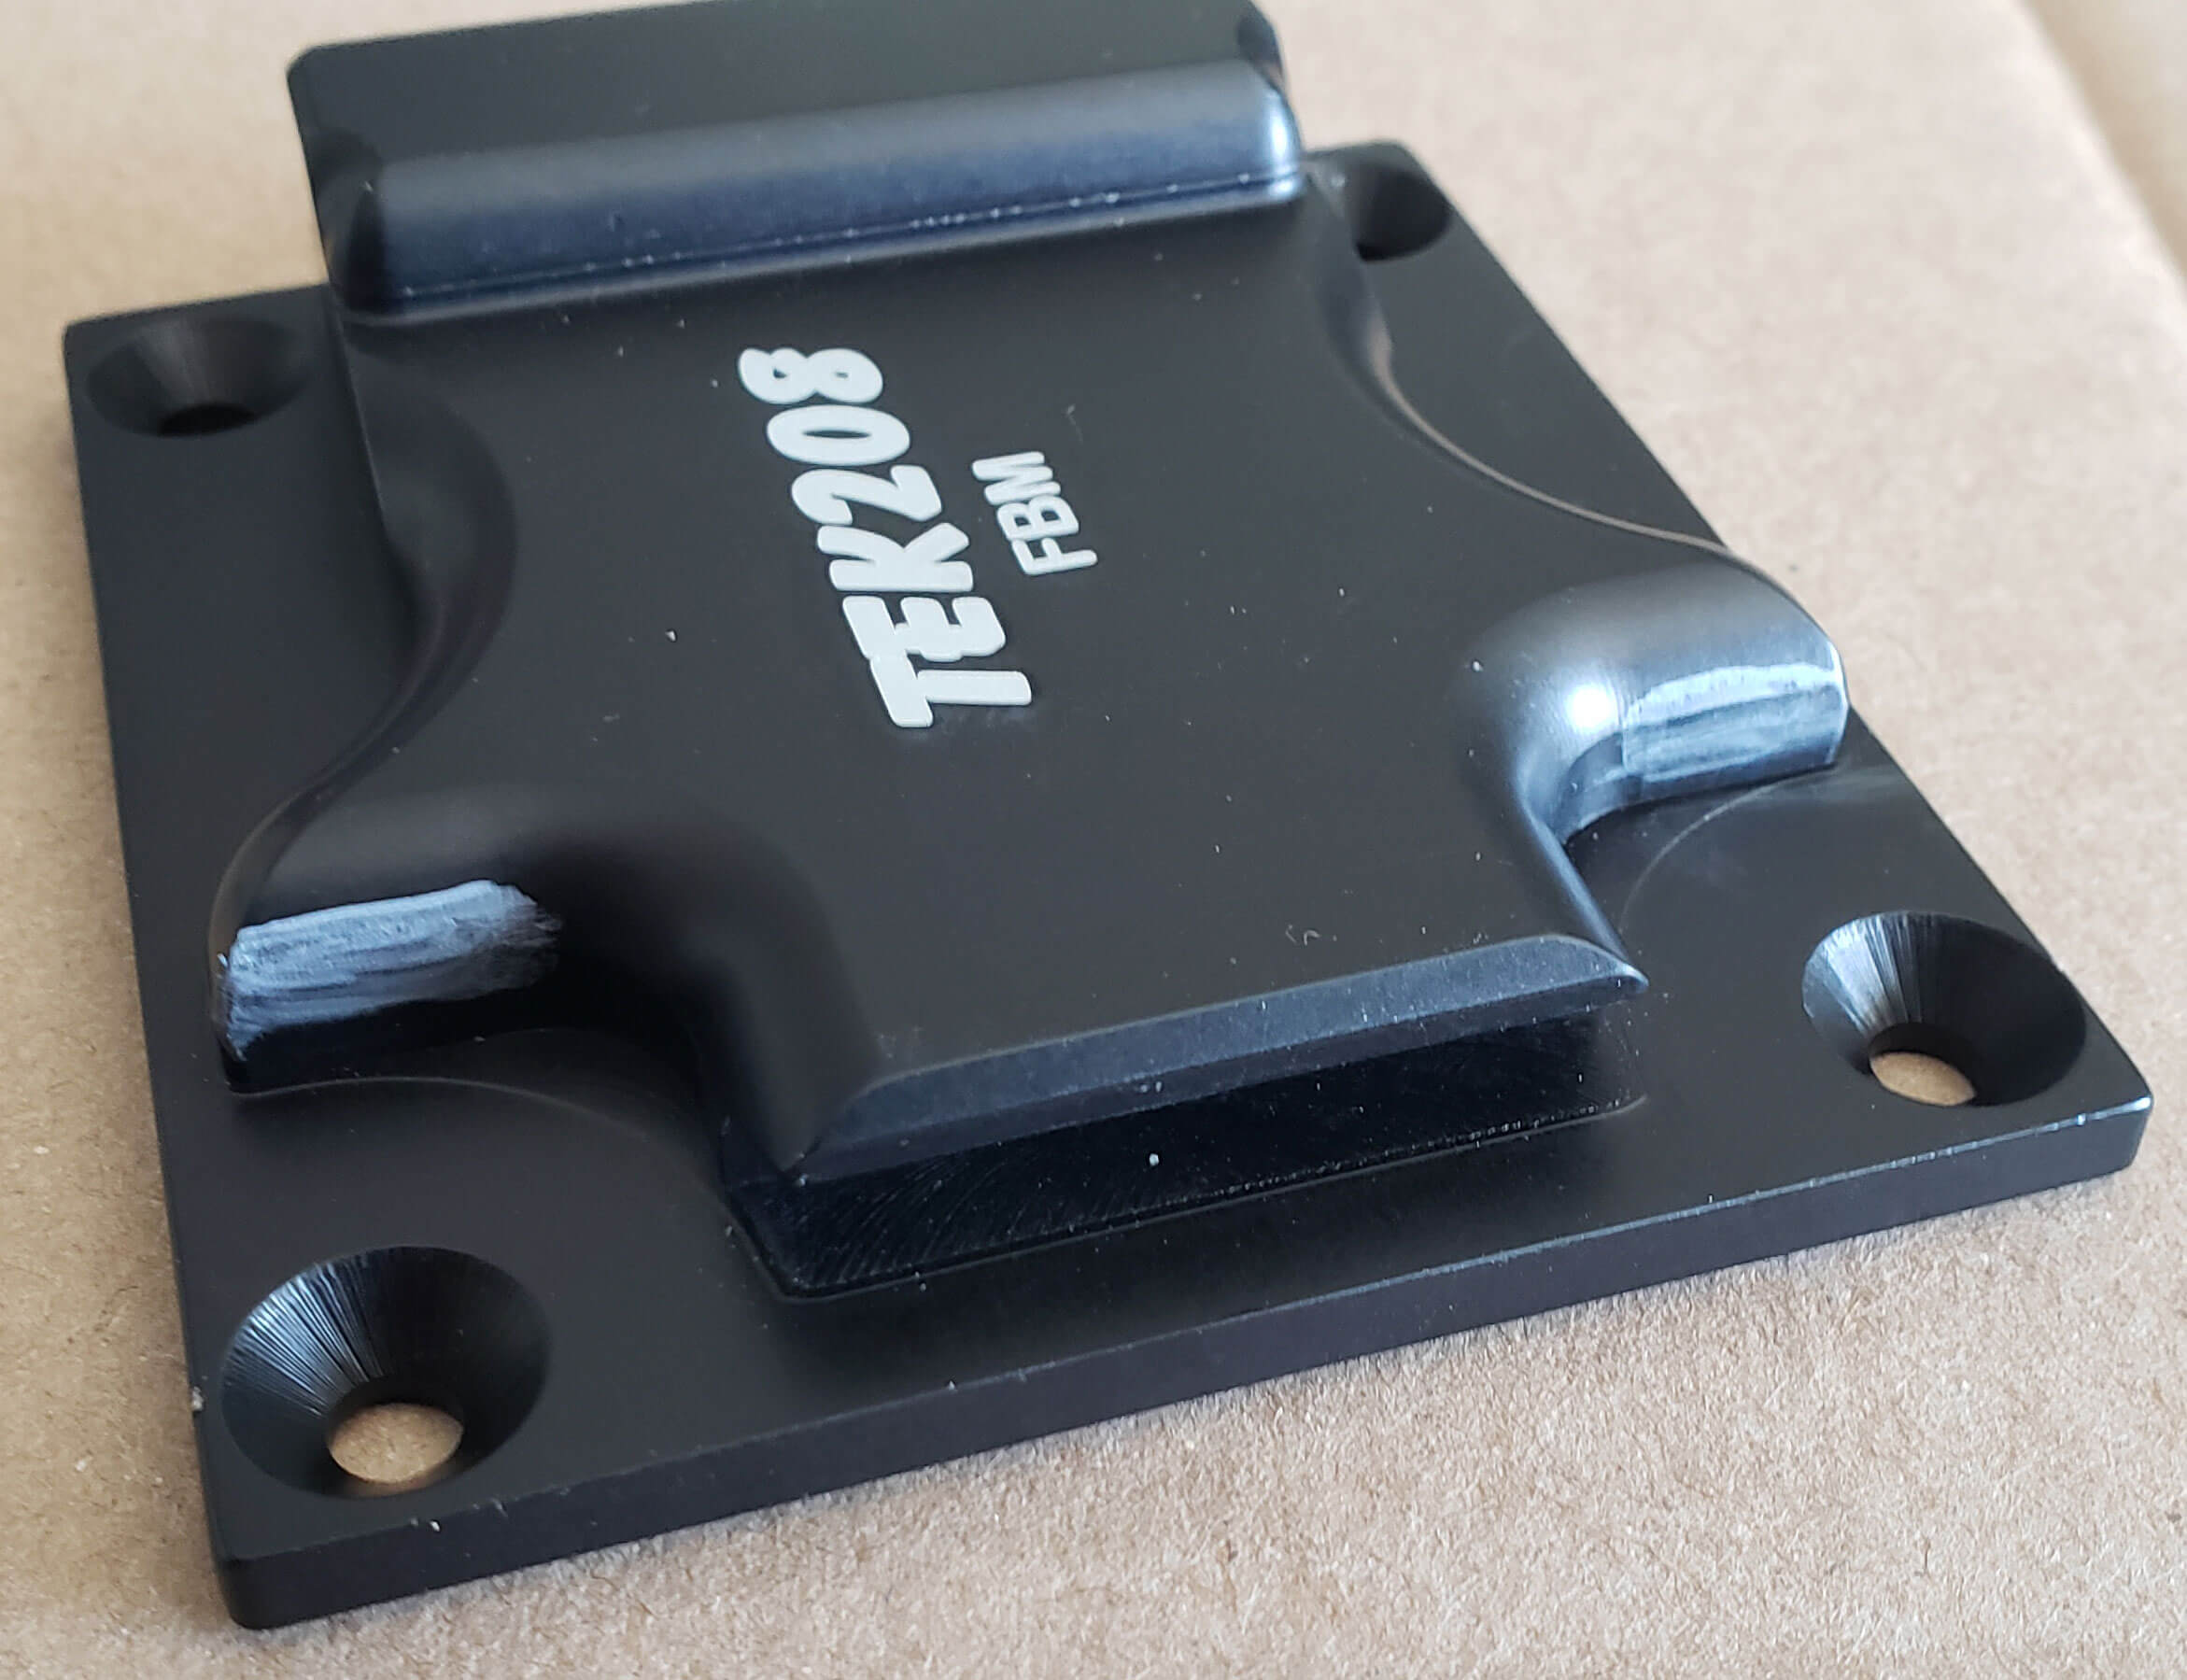
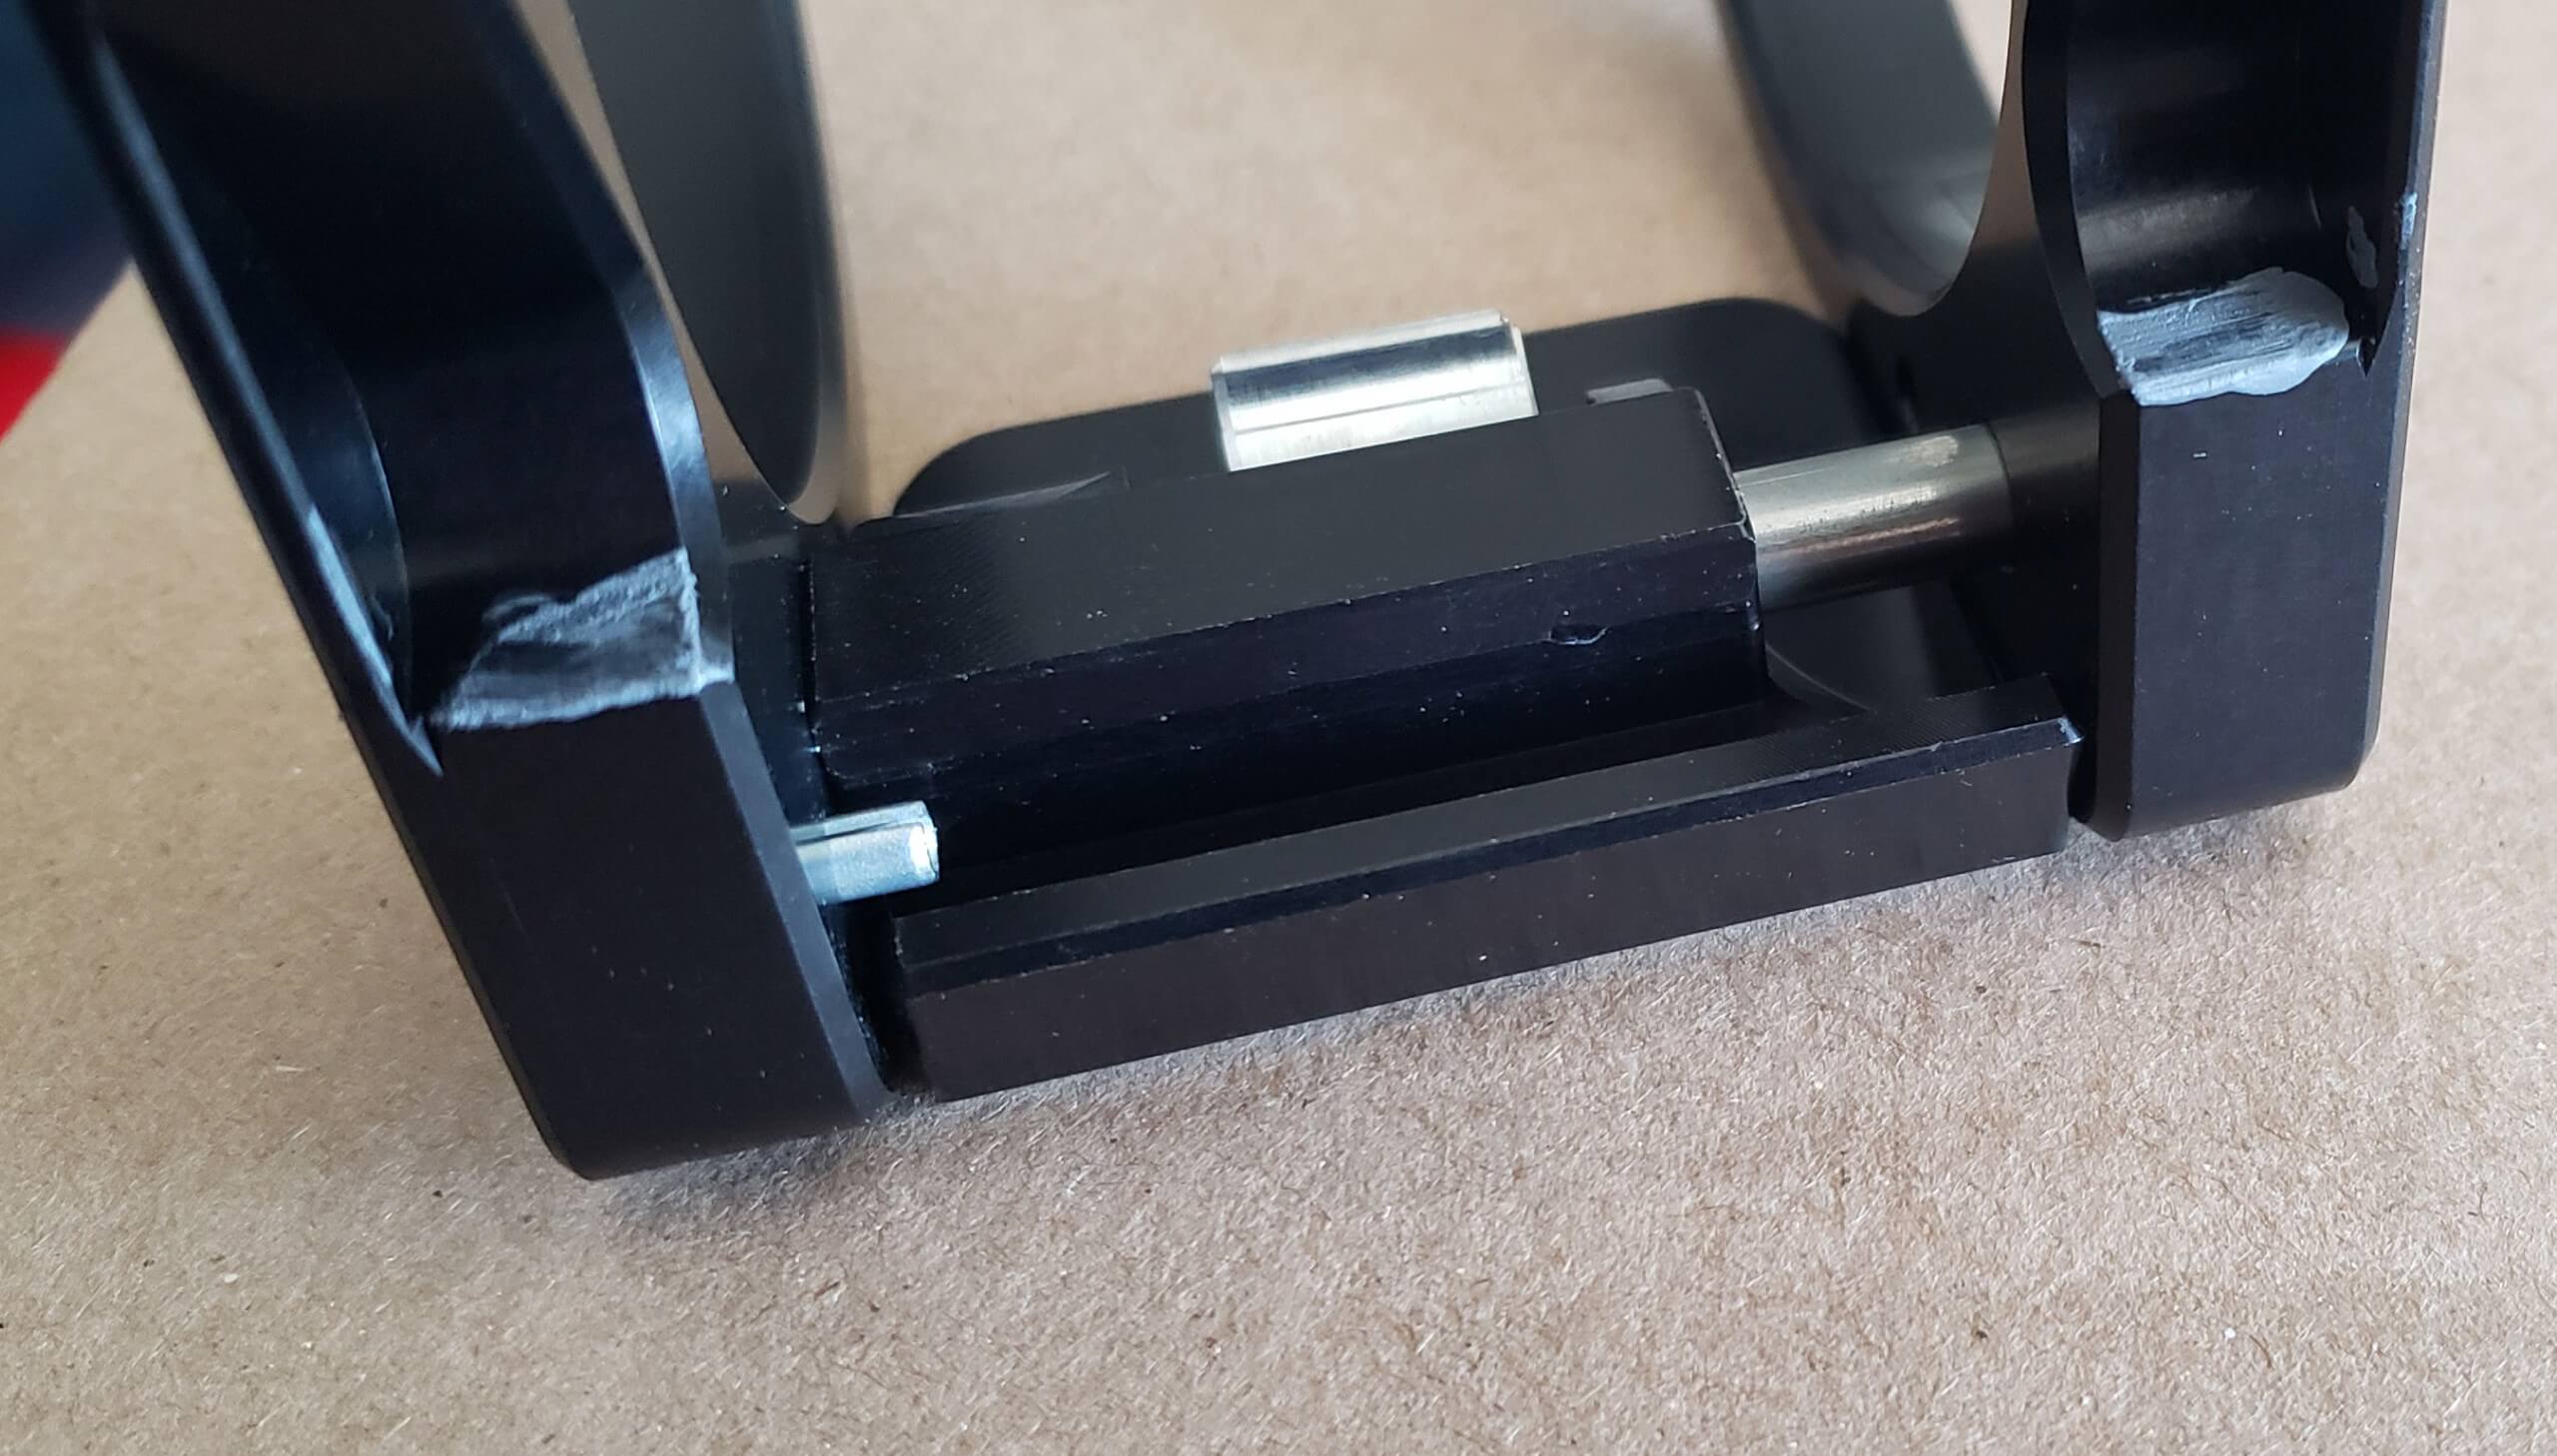
Tek208 Quick Release Fire Extinguisher Mount (Roll Bar)
Installation

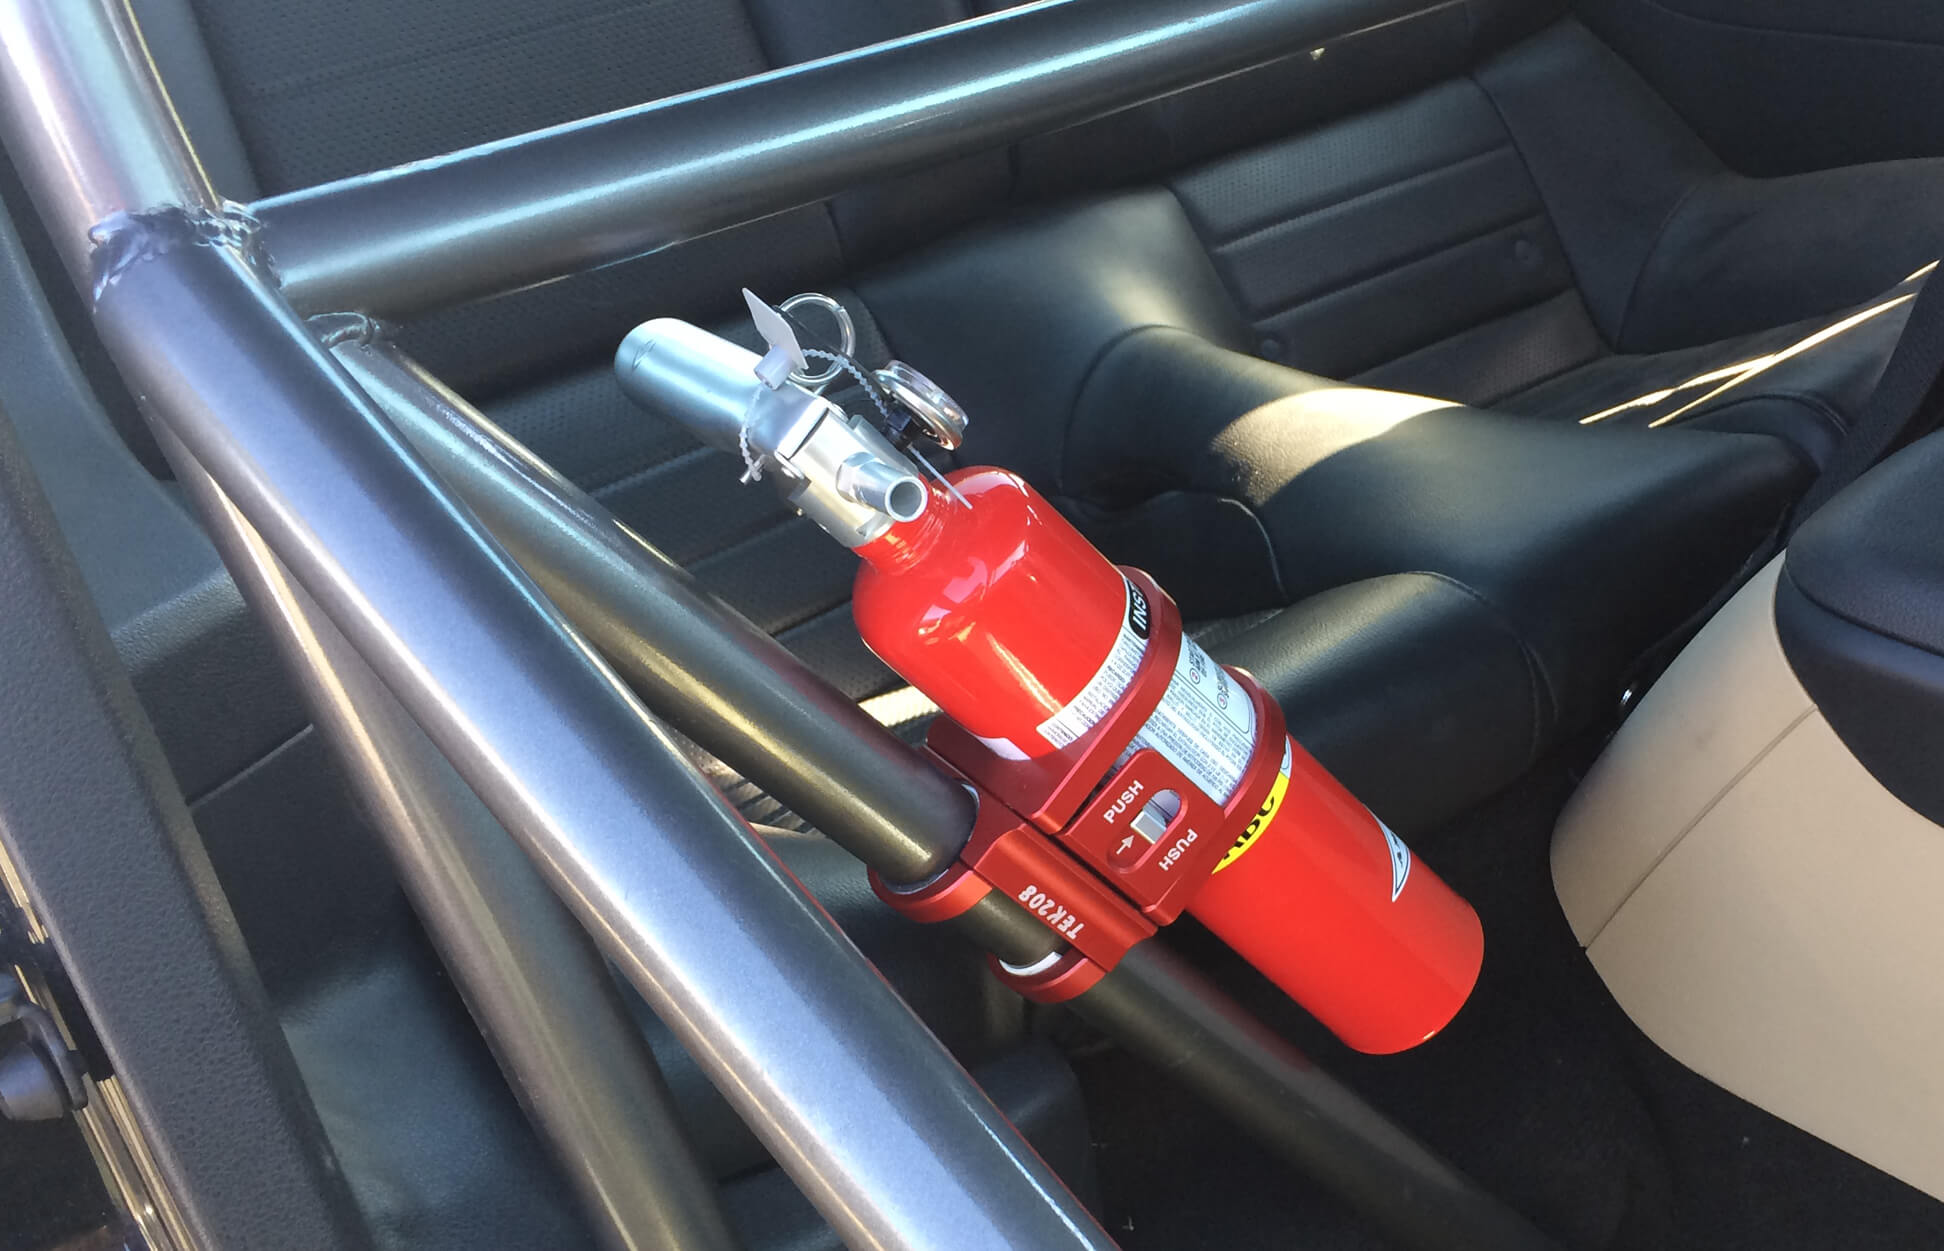
This installation will cover how to install our Tek208 quick release fire extinguisher mount. This mount is designed for Amerex Fire bottles which measure 3.03″ in diameter or those with equivalent sizes only

Installation Time: 20 Minutes
14 Installation Steps
Difficulty: Easy

Tools

  • 5/32 Allen Head

Steps 1-6

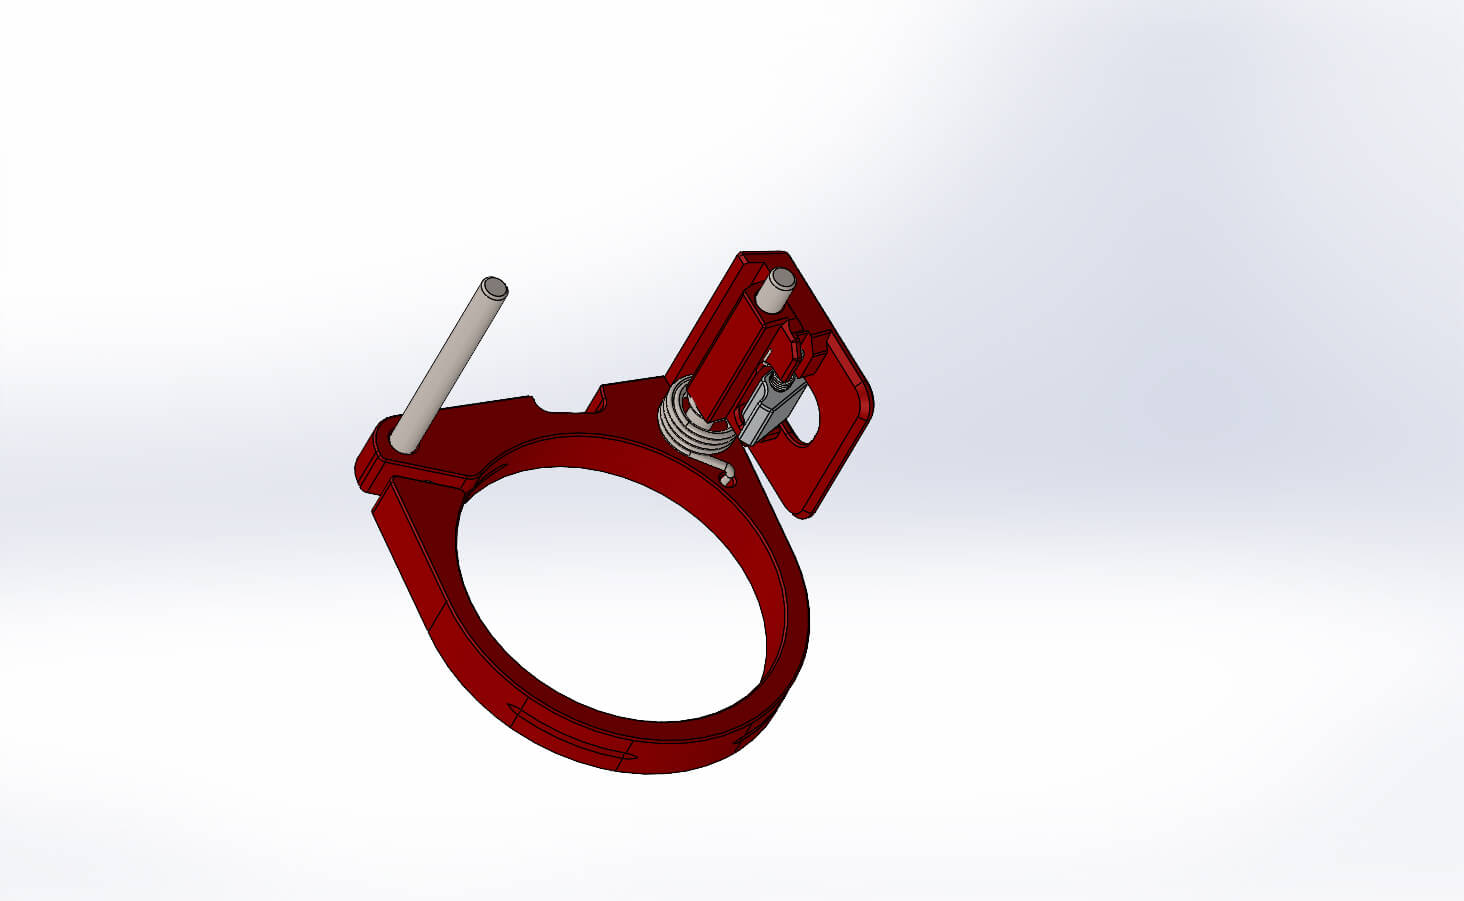
  1. Lay bottle ring shown in top right picture on soft surface to protect finish. Install pins in holes.
  2. Install main spring with bent end in hole in ring as shown.
  3. Install lever on to pin. Make sure tail of spring catches behind lever.
  4. Install other bottle ring with holes facing down. Align with installed pins and press ring down until fully seated. Lever will hit the stop pin installed in top ring and will have to be depressed to get ring to full seat. Note safety does not function until bottle is installed, it works by impinging on bottle.
  5. Install rings on bottle:
    • Remove original mount and hanging ring mount from bottle (if installed).
  6. Remove screws from rings if installed to let rings expand better for easier installation

Step 7-10

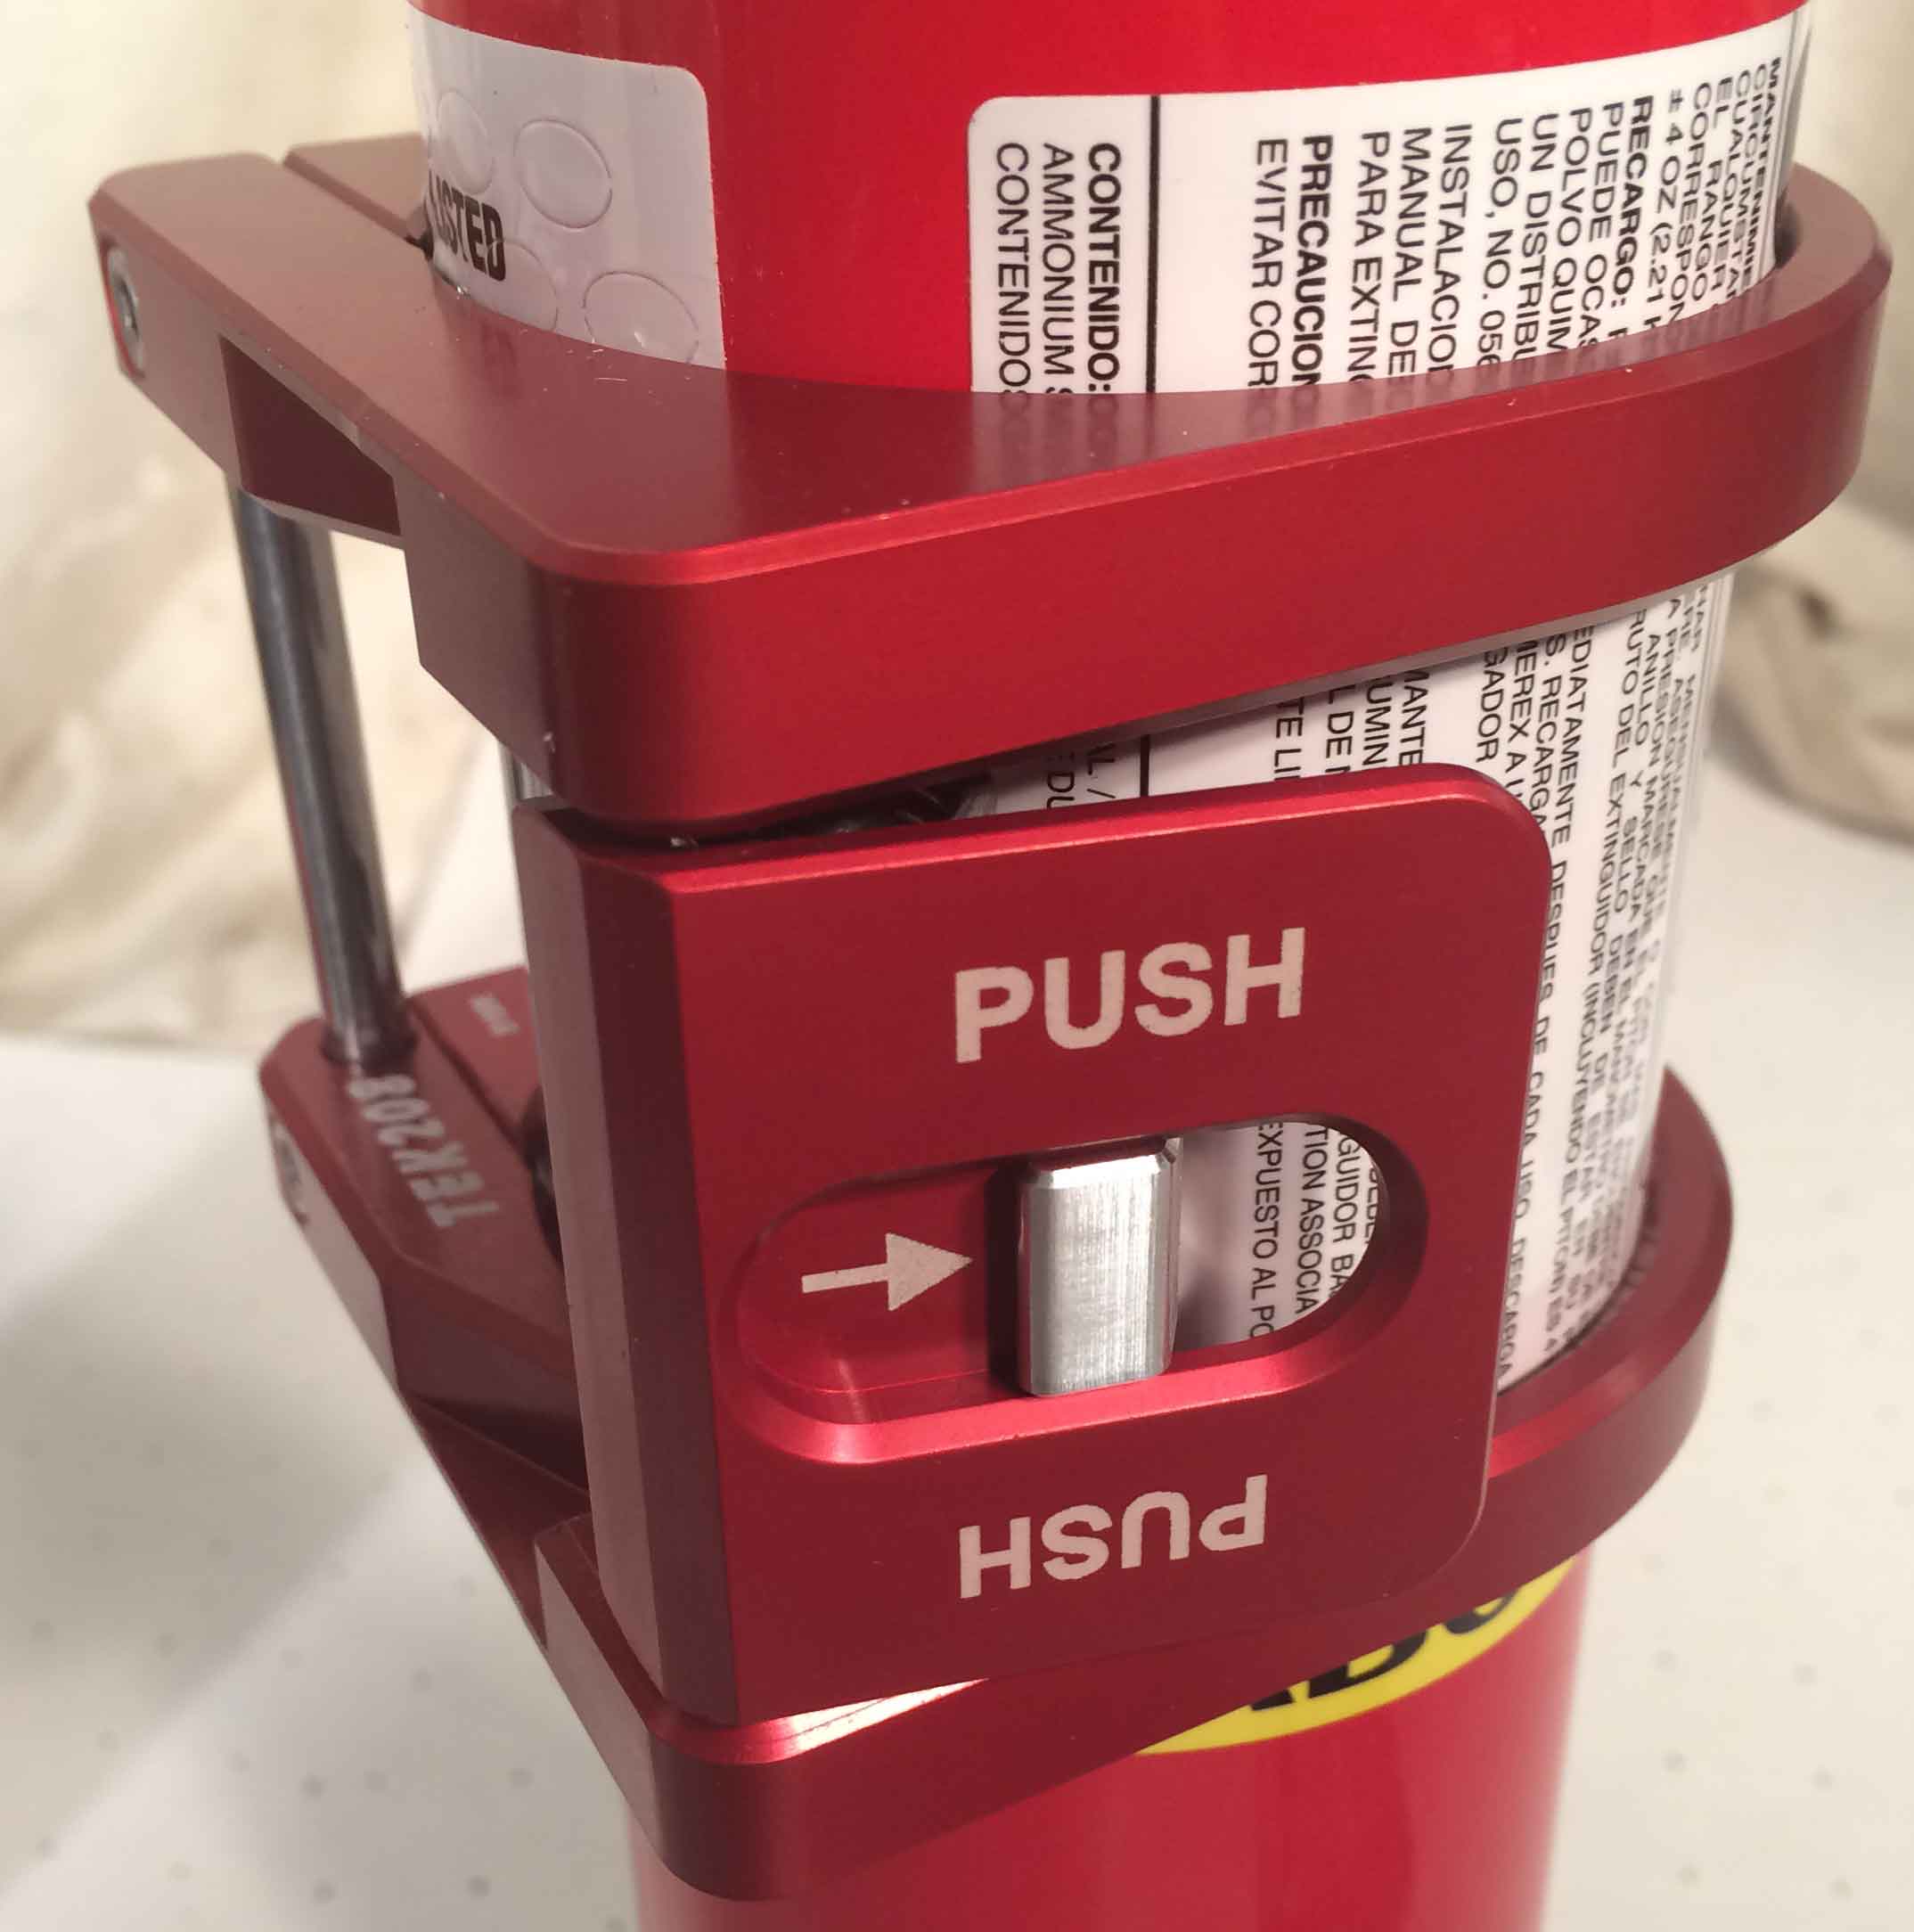
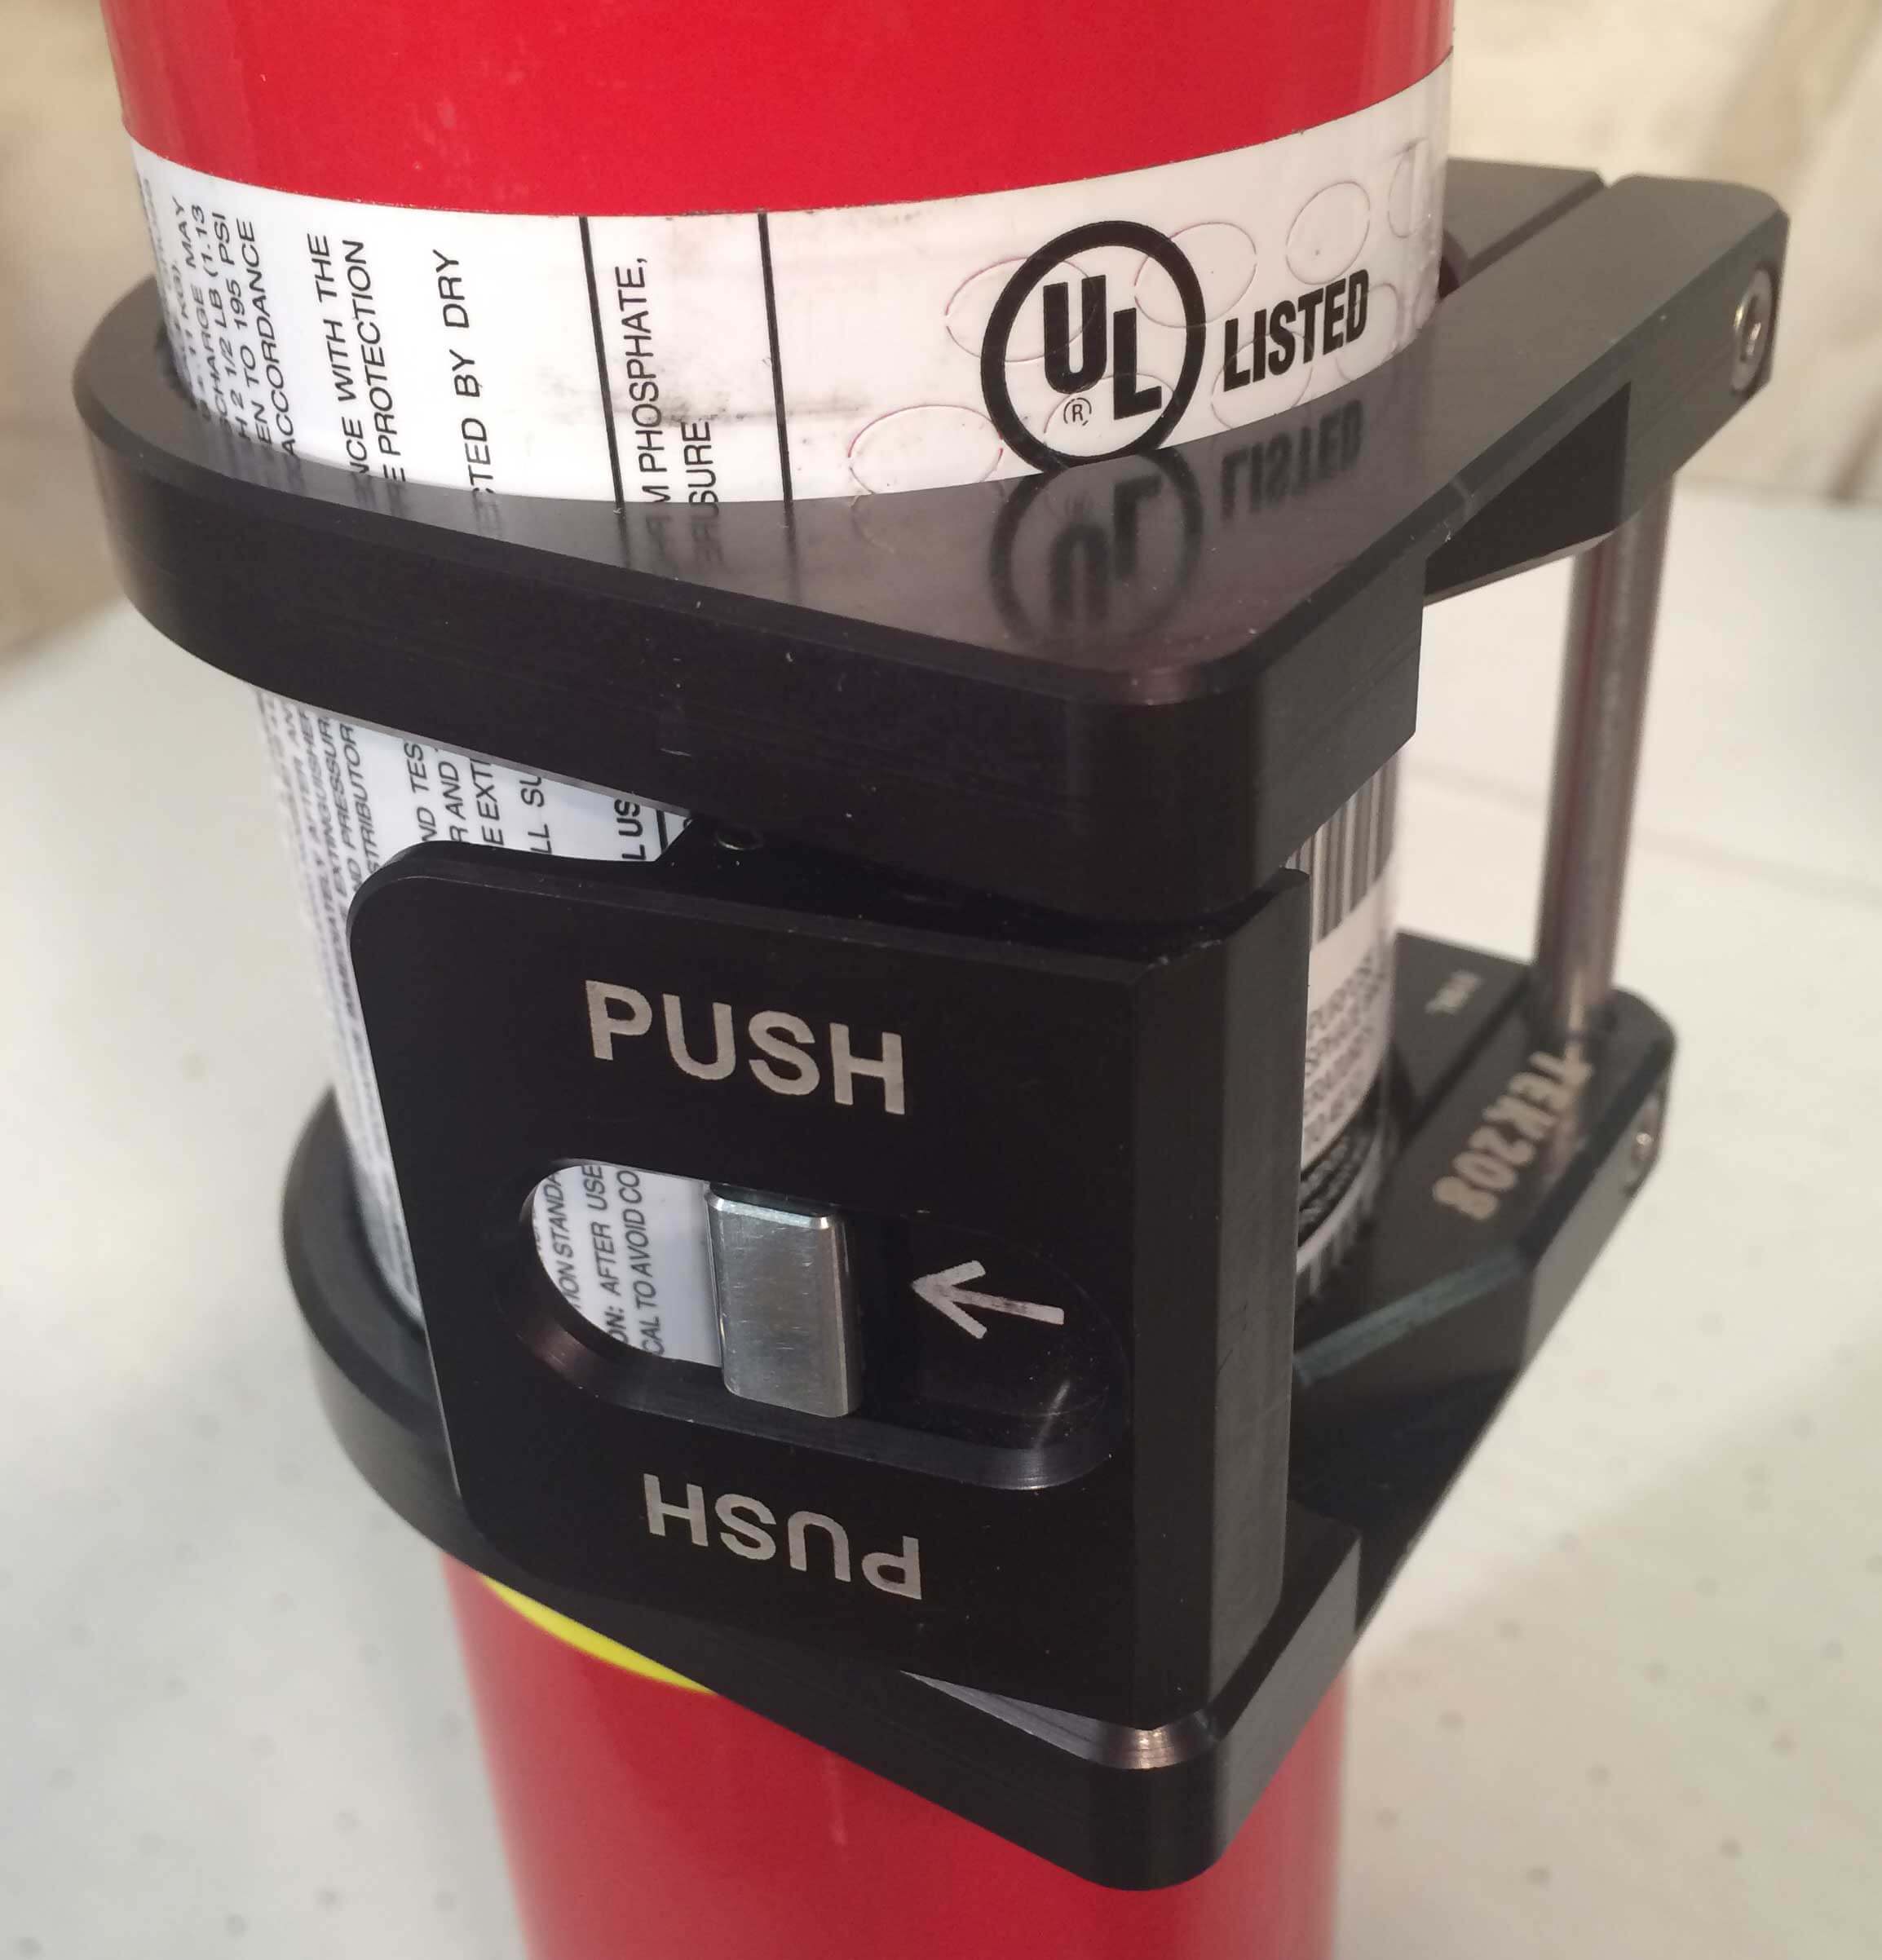
  1. Determine if mount will be released with left or right hand. (See top picture below, left hand shown in black, right hand shown in red).
  2. Position ring assembly on surface facing the way you intend to use it. Then press bottle down through until bottom ring is just above yellow A B C label. Be careful not to let ring assembly come apart. Install ½ 10 -32 screw in clamp rings and tighten enough that they just stay in place.
  3. Temporally mount extinguisher on base and adjust the alignment so the handle and gauge clears the roll bar when installing and removing. Note; The safety lever needs to be pulled back with thumb when pushing lever to install bottle just as it has to be pulled back to release it. Make sure gauge is visible for inspection. Outside of rings should be approximately same width as base and gap on each side of lever should be about a washer width when properly positioned.
  4. Carefully remove from base and tighten bottle clamp screw evenly alternating back and forth. Do not exceed max torque 31 inch-lbs. on mounting screws.

Step 11-14

  1. Reinstall mount on base and make sure that safety toggle engages when latched. To remove and use fire extinguisher grab bottle and pull safety back with thumb, then squeeze lever to release. Note; The safety lever needs to be pulled back with thumb when pushing lever to install bottle just as it has to be pulled back to release it. A slight twisting motion will release it from back pin.
  2. Note: Lever is properly latched if safety toggle has full rotated and lever cannot be depressed. Spring will continue to push lever closed to take up any slack to keep mount from rattling as it settles in. Lever can be pulled out tell fully seated but does not need to be.
  3. To ensure a rattle free installation parts are tight fitting. A fair amount of pressure maybe needed to engage latch.
  4. For smooth release apply a small amount of dry lube such as Molybdenum Di-sulfide or graphite to the gray areas in the pictures below.